


Remote Test Project
Remote Test
We are sure that this is the best among the cool electronic projects! Let's see why.
Infrared sensors utilize infrared light to detect environmental light levels or the proximity of objects. These sensors are constructed from specialized semiconductors that have the capability to emit and detect infrared light at various wavelengths. Infrared sensors find application in a wide range of scenarios, including object proximity detection, motion detection, and distance measurement. In everyday life, they are employed for tasks such as motion detection, distance measurement, and light sensing. In this current project using the PicoBricks kit, an IR sensor, commonly known as an ‘IR Remote’ or ‘Infrared Remote Control,’ is also employed. This technology is extensively used for remotely controlling electronic devices by utilizing infrared light. It is commonly found in home electronics, TV remote controls, remote-controlled cars, air conditioning units, and numerous other applications.
Details and Algorithm
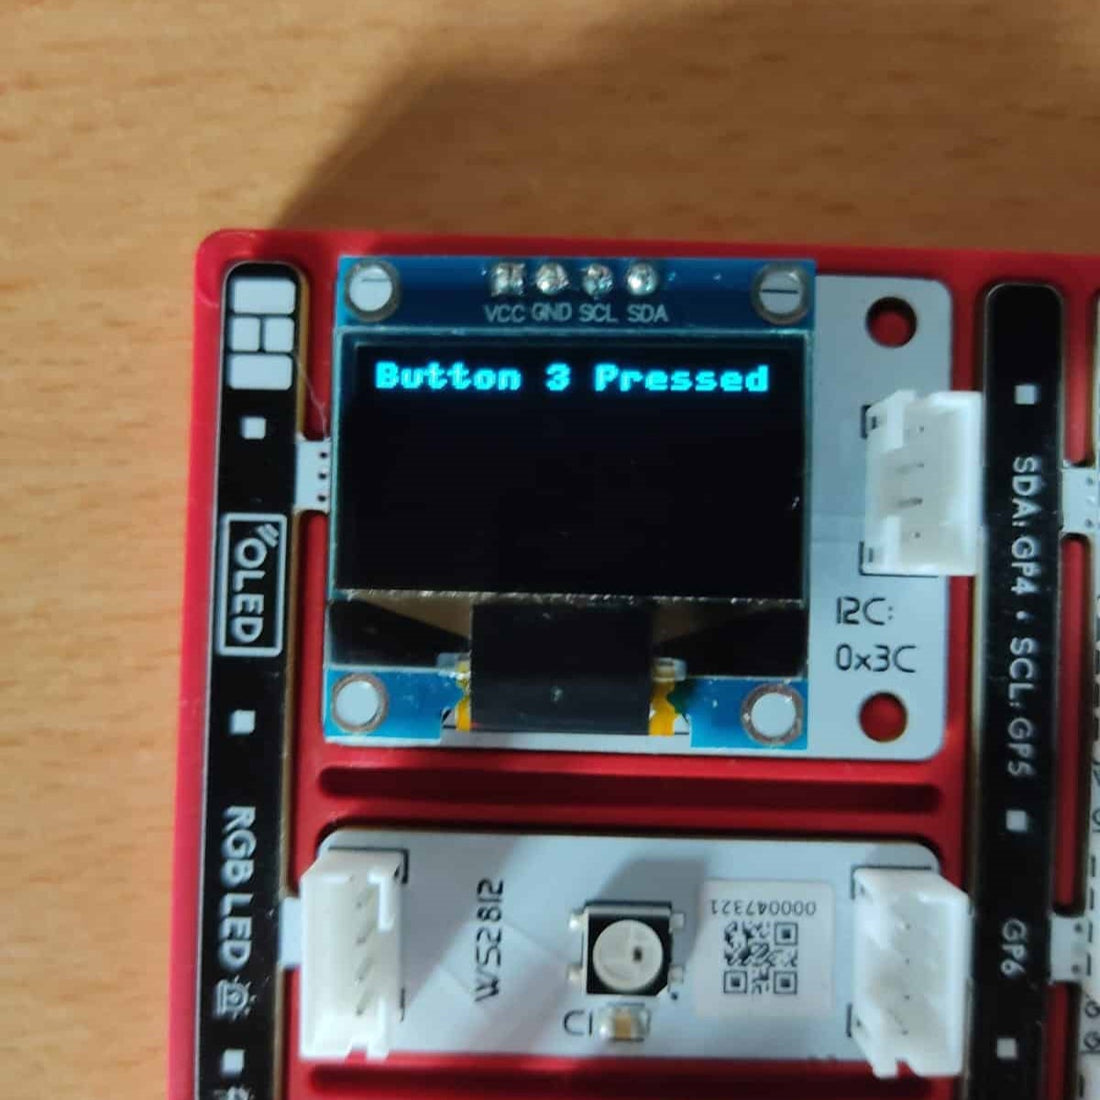
The aim of this code was to create an interactive application using the PicoBricks kit to integrate an IR remote control and an OLED display. Let’s now delve into the algorithm: To begin, the necessary libraries and modules are imported, followed by the creation of the required pins and objects. Within a loop, the program patiently awaits a button press, and upon activation, a specific welcome message is promptly displayed on the screen. Subsequently, an ongoing loop is initiated, capturing IR data. The received data is then compared to codes corresponding to specific buttons, and relevant messages are promptly exhibited on the screen. In this particular project, we employed five buttons on the remote control, and the same approach can be applied to additional buttons as needed. Individual actions are executed for each button, with the program pausing until the next IR data is received. Through this process, you will successfully craft an interactive experience with an IR remote control, with the aim of elucidating the operational logic of the remote control via a straightforward project.
Components
1 x PicoBricks
1 x IR Remote
Wiring Diagram

You can code and run Picobricks’ modules without wiring. If you are going to use the modules by separating them from the board, you should make the module connections with grove cables.
I added when received for the first 4 buttons only. But I guess you get the message how it works. Have fun 🙂
MicroBlocks Codes of the PicoBricks

MicroPython Codes of the PicoBricks
from time import sleep
import machine
from machine import Pin
from machine import I2C
from picobricks import SSD1306_I2C
import time
from picobricks import NEC_16
from picobricks import IR_RX
pin_button = machine.Pin(10, machine.Pin.IN)
i2c = I2C(0, scl=Pin(5), sda=Pin(4), freq=200000)
oled = SSD1306_I2C(128, 64, i2c, addr=0x3c)
def ir_callback(data, addr, ctrl):
    global ir_data
    global ir_addr, data_rcvd
    if data > 0:
        ir_data = data
        ir_addr = addr
        print('Data {:02x} Addr {:04x}'.format(data, addr))
        data_rcvd = True
ir = NEC_16(Pin(0, Pin.IN), ir_callback)
ir_data = 0
data_rcvd = False
while (pin_button.value()) == (0):
    oled.text("{}".format("Welcome to"), 20, 10)
    oled.text("{}".format("Remote Test"), 15, 20)
    oled.text("{}".format("Push Button"), 15, 30)
    oled.text("{}".format("to Start"), 25, 40)
    oled.show()
time.sleep((0.1))
while True:
    oled.fill(0)
    oled.show()
    oled.text("{}".format("Use Remote"), 0, 0)
    oled.show()
    time.sleep((0.1))
    if data_rcvd == True:
        data_rcvd = False
        oled.fill(0)
        if ir_data == IR_RX.number_1:
            oled.text("{}".format("Button 1 Pressed"), 0, 0)
            oled.show()
            time.sleep((1))
        elif ir_data == IR_RX.number_2:
            oled.text("{}".format("Button 2 Pressed"), 0, 0)
            oled.show()
            time.sleep((1))
        elif ir_data == IR_RX.number_3:
            oled.text("{}".format("Button 3 Pressed"), 0, 0)
            oled.show()
            time.sleep((1))
        elif ir_data == IR_RX.number_4:
            oled.text("{}".format("Button 4 Pressed"), 0, 0)
            oled.show()
            time.sleep((1))
        elif ir_data == IR_RX.number_ok:
            oled.text("{}".format("Button OK "), 0, 0)
            oled.text("{}".format("Pressed"), 0, 10)
            oled.show()
            time.sleep((1))
PicoBlockly Codes of the PicoBricks


Arduino C Codes of the PicoBricks
#include
#include “ACROBOTIC_SSD1306.h”
#include
#include
#define IR_RECEIVE_PIN 0
#define BUTTON_PIN 10

int a = 0;

void setup() {
  Serial.begin(9600);
  Wire.begin();
  oled.init();
  oled.clearDisplay();
  IrReceiver.begin(IR_RECEIVE_PIN, ENABLE_LED_FEEDBACK);
}

void loop() {
  while (digitalRead(BUTTON_PIN) == LOW) {
    oled.setTextXY(1, 2);
    oled.putString(“Welcome to”);
    oled.setTextXY(2, 1);
    oled.putString(“Remote Test”);
    oled.setTextXY(3, 1);
    oled.putString(“Push Button”);
    oled.setTextXY(4, 2);
    oled.putString(“to Start”);
  }
  oled.clearDisplay();

  while (true) {
    oled.setTextXY(0, 0);
    oled.putString(“Use Remote”);

    if (IrReceiver.decode()) {
      oled.clearDisplay();
      a = (IrReceiver.decodedIRData.decodedRawData);
      Serial.println(a);
      IrReceiver.resume();
    }

    if (a == -1169817856) {
      oled.setTextXY(0, 0);
      oled.putString(“Button 1 Pressed”);
      delay(1000);
    }
    if (a == -1186529536) {
      oled.setTextXY(0, 0);
      oled.putString(“Button 2 Pressed”);
      delay(1000);
    }
    if (a == -1203241216) {
      oled.setTextXY(0, 0);
      oled.putString(“Button 3 Pressed”);
      delay(1000);
    }
    if (a == -1153106176) {
      oled.setTextXY(0, 0);
      oled.putString(“Button 4 Pressed”);
      delay(1000);
    }
    if (a == -484638976) {
      oled.setTextXY(0, 0);
      oled.putString(“Button OK”);
      oled.setTextXY(1, 0);
      oled.putString(“Pressed”);
      delay(1000);
    }
    a = 0;
    delay(1000);
    oled.clearDisplay();
  }
}
