Skip to content
International Shipping
Wish Lists Cart
0 items

#2 Action – Reaction Project With PicoBricks

28 Nov 2023
#2 Action – Reaction Project With PicoBricks
As Newton explained in his laws of motion, a reaction occurs against every action. Electronic systems receive commands from users and perform their tasks. Usually a keypad, touch screen or a button is used for this job. Electronic devices respond verbally, in writing or visually to inform the user that their task is over and what is going on during the task. In addition to informing the user of these reactions, it can help to understand where the fault may be in a possible malfunction.

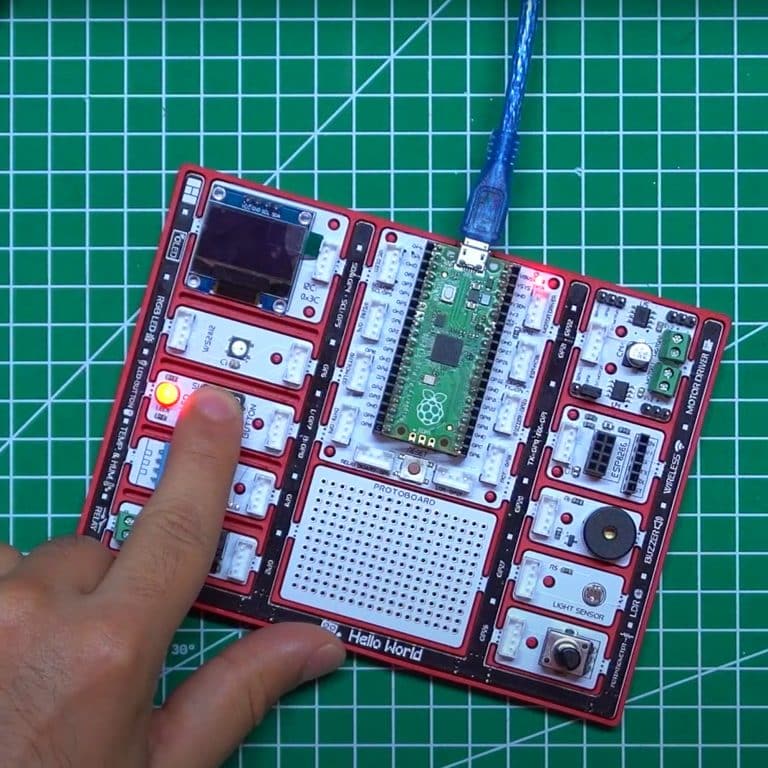
In this project, you will learn how to receive and react to a command from the user in your projects by coding the button-LED module of Picobricks

Details and Algorithm

Different types of buttons are used in electronic systems. Locked buttons, push buttons, switched buttons… There is 1 push button on Picobricks. They work like a switch, they conduct current when pressed and do not conduct current when released. In the project, we will understand the pressing status by checking whether the button conducts current or not. If it is pressed, it will light the LED, if it is not pressed, we will turn off the LED.

Project Video

Components

1X PicoBricks

Wiring Diagram

MicroBlocks Codes of the PicoBricks

You can access the Microblocks codes of the project by dragging the image to the Microblocks Run tab

MicroPython Codes of the PicoBricks


from machine import Pin#to acces the hardware picobricks
led = Pin(7,Pin.OUT)#initialize digital pin as an output for led
push_button = Pin(10,Pin.IN,Pin.PULL_DOWN)#initialize digital pin 10 as an input
while True:#while loop
    logic_state = push_button.value();#button on&off status
    if logic_state == True:#check the button and if it is on
        led.value(1)#turn on the led
    else:
        led.value(0)#turn off the led

Arduino C Codes of the PicoBricks


void setup() {
  // put your setup code here, to run once:
  pinMode(7,OUTPUT);//initialize digital pin 7 as an output
  pinMode(10,INPUT);//initialize digital pin 10 as an input

}
void loop() {
  // put your main code here, to run repeatedly:
  if(digitalRead(10)==1){//check the button and if it is on
    digitalWrite(7,HIGH);//turn the LED on by making the voltage HIGH
  }
  else{
    digitalWrite(7,LOW);//turn the LED off by making the voltage LOW
  }
  delay(10);//wait for half second
}
Prev Post
Next Post

Thanks for subscribing!

This email has been registered!

Shop the look
Choose Options

Edit Option

Have Questions?

Back In Stock Notification

Compare

Product SKUDescription Collection Availability Product Type Other Details

Terms & Conditions

What is Lorem Ipsum? Lorem Ipsum is simply dummy text of the printing and typesetting industry. Lorem Ipsum has been the industry's standard dummy text ever since the 1500s, when an unknown printer took a galley of type and scrambled it to make a type specimen book. It has survived not only five centuries, but also the leap into electronic typesetting, remaining essentially unchanged. It was popularised in the 1960s with the release of Letraset sheets containing Lorem Ipsum passages, and more recently with desktop publishing software like Aldus PageMaker including versions of Lorem Ipsum. Why do we use it? It is a long established fact that a reader will be distracted by the readable content of a page when looking at its layout. The point of using Lorem Ipsum is that it has a more-or-less normal distribution of letters, as opposed to using 'Content here, content here', making it look like readable English. Many desktop publishing packages and web page editors now use Lorem Ipsum as their default model text, and a search for 'lorem ipsum' will uncover many web sites still in their infancy. Various versions have evolved over the years, sometimes by accident, sometimes on purpose (injected humour and the like).
this is just a warning
Login
Shopping Cart
0 items