Happy Tail Project
The maker movement and technology provide up a limitless world of creativity for people wishing to develop innovative projects. Not only is this activity enjoyable, but it also offers a worthwhile educational opportunity. For instance, it’s a great place to start if you want to learn how to use analog sensors like potentiometers and servo motors. We’d like to use this opportunity to introduce you to the “Happy Tail Project.”
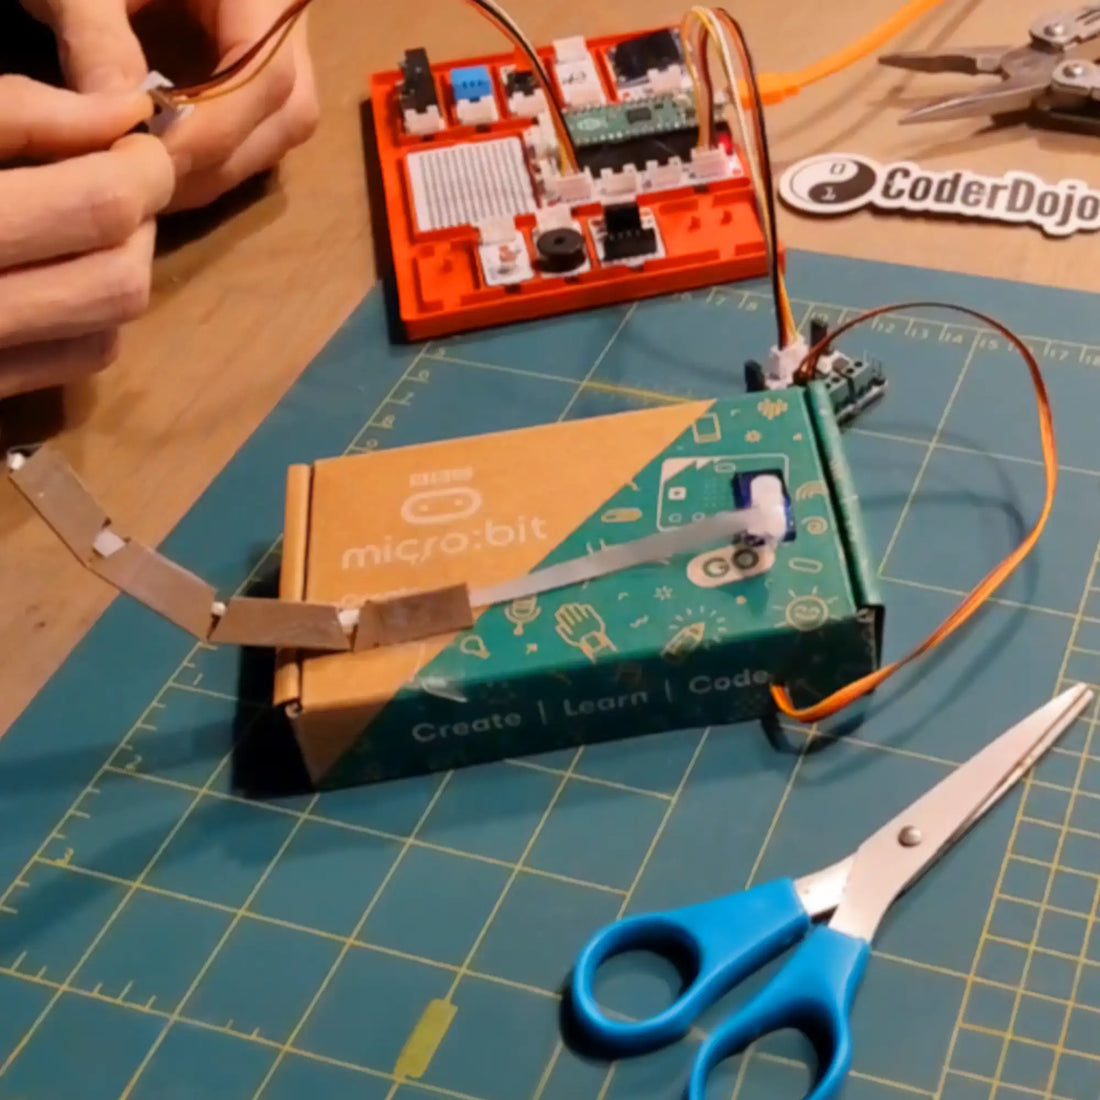
In this project, a servo motor works its magic to create a movement that resembles a tail. You are free to add this intriguing motion to any figurine of an animal you like; we went with a mouse, but the possibilities are endless!
Details and Algorithm
The Moving Tail perfectly mimicking a tail-like movement at the back of a toy or device using a servo motor. In this project, precise control of the servo motor is achieved through the utilization of a potentiometer (pot). Through the potentiometer, the motor’s angle can be fully customized and finely adjusted to any desired position with precision. Consequently, this project not only replicates the movement of a playful tail behind a toy but also serves as an excellent opportunity for makers to delve into the fundamentals of electronic components and programming. The Moving Tail Project, thus, presents an ideal starting point for technology enthusiasts and the maker community, offering boundless creativity and a fantastic learning platform.
Components
1 x PicoBricks
1 x Servo Motor
1 x Wiring Cables
Wiring Diagram

MicroBlocks Codes of PicoBricks

PicoBlockly Codes of PicoBricks

MicroPython Codes of PicoBricks
from time import sleep
import math
import machine
from machine import Pin
from machine import PWM
from math import fabs
pot = machine.ADC(26)
pwm_1 = PWM(Pin(21))
pwm_1.freq(50)

def CalculateAngle(angle):
   angle = fabs((angle * (6000 / 180)) + 2000)
   angle = round(angle)
   return angle

while True:
    pwm_1.duty_u16(CalculateAngle(round(((( pot.read_u16() ) + ( 0 )) * ( 90 )) / ( 65535 )) ))
Ardunio C Codes of PicoBricks
#include
#include “ACROBOTIC_SSD1306.h”
#include

#define POT_PIN 26

Servo myservo;

int servo_angle = 0;

void setup() {
  //define dht sensor and Oled screen
  Serial.begin(115200);
  Wire.begin();
  oled.init();
  oled.clearDisplay();
  pinMode(POT_PIN, INPUT);

  myservo.attach(21);
  myservo.write(0);
}

void loop() {
  servo_angle = map(analogRead(POT_PIN),0,1023,0,90);
  myservo.write(servo_angle);
}
Project Image


