Details and Algorithm
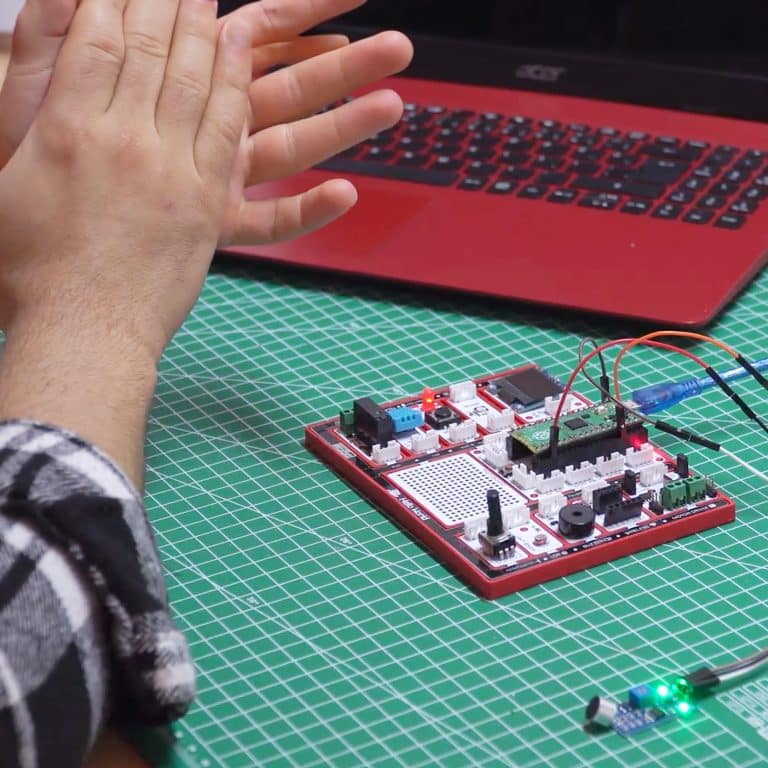
In this project, we will turn the LED module on the picobricks board on and off with the sound. In our project, which we will build using the PicoBricks sound level sensor, we will perform the on-off operations by making a clap sound. As in previous projects, in projects where sensors are used, before we start to write the codes, it will make your progress easier to see what values the sensor sends in the operations we want to do by just running the sensor, and then writing the codes of the project based on these values.
Wiring Diagram

You can code and run PicoBricks’ modules without wiring. If you are going to use the modules by separating them from the board, you should make the module connections with grove cables.
MicroBlocks Codes of the PicoBricks

You can access the Microblocks codes of the project by dragging the image to the Microblocks Run tab or click the button.
MicroPython Codes of the PicoBricks
from machine import Pin #to access the hardware on the pico
sensor=Pin(1,Pin.IN) #initialize digital pin 1 as an INPUT for Sensor
led=Pin(7,Pin.OUT)#initialize digital pin 7 as an OUTPUT for LED
while True:
    #When sensor value is '0', the relay will be '1'
    print(sensor.value())
    if sensor.value()==1:
        led.value(1)
    else:
        led.value(0)
Arduino C Codes of the PicoBricks
void setup() {
  // put your setup code here, to run once:
  pinMode(1,INPUT);
  pinMode(7,OUTPUT);
  //define the input and output pins
}

void loop() {
  // put your main code here, to run repeatedly:


  Serial.println(digitalRead(1));

  if(digitalRead(1)==1){
    digitalWrite(7,HIGH);
    delay(3000);
  }
  else{
    digitalWrite(7,LOW);
    delay(1000);
  }
}
GitHub Project Page


