


#6 Dominate The Rhythm Project With PicoBricks
Many events in our lives have been digitized. One of them is sounds. The tone and intensity of the sound can be processed electrically. So we can extract notes electronically. The smallest unit of sounds that make up music is called a note. Each note has a frequency and intensity. With the codes we will write, we can adjust which note should be played and how long it should last by applying frequency and intensity.
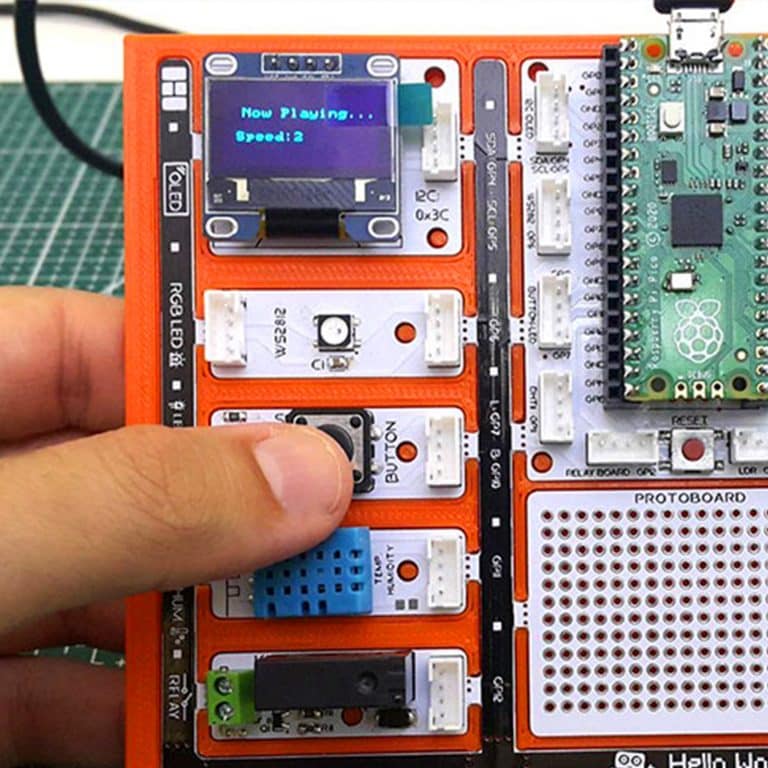
In this project, we will prepare a music system that will play the melody of a song using the buzzer module and adjust the rhythm with the potentiometer module with Picobricks. You will also learn the use of variables, which has an important place in programming terminology, in this project.
1X PicoBricks
Wiring Diagram

MicroBlocks Codes of the PicoBricks

You can access the Microblocks codes of the project by dragging the image to the Microblocks Run tab or click the button:
MicroPython Codes of the PicoBricks
from machine import Pin, PWM, ADC, I2C  # to access the hardware picobricks
from utime import sleep  # time library
from picobricks import SSD1306_I2C
import utime

WIDTH = 128
HEIGHT = 64
#define the weight and height picobricks

sda = machine.Pin(4)
scl = machine.Pin(5)
# we define sda and scl pins for inter-path communication
i2c = machine.I2C(0, sda=sda, scl=scl, freq=2000000)  # determine the frequency values
oled = SSD1306_I2C(WIDTH, HEIGHT, i2c)

button = Pin(10, Pin.IN, Pin.PULL_DOWN)
pot = ADC(Pin(26))
buzzer = PWM(Pin(20))
# determine our input and output pins
pressed = False
rithm = 0

tones = {
    "A3": 220,
    "D4": 294,
    "E4": 330,
    "F4": 349
}
#define the tones

mysong = ["A3", "E4", "E4", "E4", "E4", "E4", "E4", "F4", "E4", "D4", "F4", "E4"]  # let's define the tones required for our song in the correct order into a sequence
noteTime = [1, 0.5, 0.5, 0.5, 0.5, 0.5, 0.5, 0.5, 0.5, 0.5, 0.5, 1]  # define wait times between tones into an array


def playtone(frequency):
    buzzer.duty_u16(6000)
    buzzer.freq(frequency)
    # define the frequencies of the buzzer


def playsong(pin):
    global pressed
    pressed = True
    # play the tones with the right cooldowns
# An finally we need to tell the pins when to trigger, and the function to call when they detect an event:
button.irq(trigger=Pin.IRQ_RISING, handler=playsong)
note_count = 9999
played_time = 0
while True:
    current_time = utime.ticks_ms()
    oled.show()
    oled.text("Press the button", 0, 0)

    if (note_count < len(mysong)):
        oled.fill(0)
        oled.text("Dominate ", 30, 10)
        oled.text("the ", 45, 25)
        oled.text("Rhythm ", 35, 40)
        rithm = ((pot.read_u16() / 65535.0) * 20) + 1
        if (current_time - played_time) / 1000.0 >= noteTime[note_count] / rithm:
            played_time = utime.ticks_ms()
            playtone(tones[mysong[note_count]])
            note_count += 1
    else:
        buzzer.duty_u16(0)

    if pressed:

        note_count = 0
        pressed = False
Arduino C Codes of the PicoBricks
#include <Wire.h>
#include "ACROBOTIC_SSD1306.h"

int buzzer = 20;
int pot = 26;
int button = 10;
//define the buzzer, pot, and button

int Re = 294;
int Mi = 330;
int Fa = 349;
int La = 440;
//DEFINE THE TONES

void setup() {
  Wire.begin();
  oled.init();
  oled.clearDisplay();

  pinMode(buzzer, OUTPUT);
  pinMode(26, INPUT);
  pinMode(button, INPUT);
  //determine our input and output pins
}

void loop() {
  int rithm = (analogRead(pot)) / 146;
  String char_rithm = String(rithm);
  oled.setTextXY(3, 4);
  oled.putString("Speed: ");
  oled.setTextXY(3, 10);
  oled.putString(char_rithm);

  //print "Speed: "  and speed value on the OLED at x=3 y=4

  delay(10);

  if (digitalRead(button) == 1) {

    oled.clearDisplay();
    oled.setTextXY(3, 2);
    oled.putString("Now playing...");
    //print "Speed: "  and speed value on the OLED at x=3 y=4
    tone(buzzer, La);
    delay(1000 / (rithm + 1));
    tone(buzzer, Mi);
    delay(500 / (rithm + 1));
    tone(buzzer, Mi);
    delay(500 / (rithm + 1));
    tone(buzzer, Mi);
    delay(500 / (rithm + 1));
    tone(buzzer, Mi);
    delay(500 / (rithm + 1));
    tone(buzzer, Mi);
    delay(500 / (rithm + 1));
    tone(buzzer, Mi);
    delay(500 / (rithm + 1));
    tone(buzzer, Fa);
    delay(500 / (rithm + 1));
    tone(buzzer, Mi);
    delay(500 / (rithm + 1));
    tone(buzzer, Re);
    delay(500 / (rithm + 1));
    tone(buzzer, Fa);
    delay(500 / (rithm + 1));
    tone(buzzer, Mi);
    delay(1000 / (rithm + 1));

    //play the notes in the correct order and time when the button is pressed

    oled.clearDisplay();
    //clear the screen
  }
  noTone(buzzer);
  //stop the buzzer
}
