Skip to content
Wish Lists Cart
0 items

#14 Dinosaur Game Project With PicoBricks

14 Nov 2023
#14 Dinosaur Game Project With PicoBricks

If the electronic systems to be developed will fulfill their duties by pushing, pulling, turning, lifting, lowering, etc., pneumatic systems or electric motor systems are used as actuators in the project. PicoBricks supports two different motor types: DC motors and Servo motors. Servo motors are DC motors whose movements are regulated electronically. Servo motors are motors that can rotate to an angle. In RC vehicles, servo motors are used with the same logic to control the steering and change the direction of the vehicle. In addition, advanced servo motors known as smart continuous servos, which can rotate 360 deg, are also used in the wheels of the smart vacuum cleaners we use in our homes.

In this project you will learn how to control Servo motors with PicoBricks.

Details and Algorithm

In this project, we will automatically play Google Chrome offline dinosaur game with PicoBricks. In the game, PicoBricks will automatically control the dinosaur’s movements by detecting obstacles. We will use the PicoBricks LDR sensor to detect the obstacles in front of the dinosaur. LDR can send analog signals by measuring the amount of light touching the sensor surface. By fixing the sensor on the computer screen and monitoring the difference in the amount of light between the white and black colors, we can detect if there is an obstacle in front of the dinosaur. When an obstacle is detected, we can use a servo motor to automatically press the spacebar on the keyboard and make the dinosaur overcome the obstacles. We will attach the LDR sensor to the computer screen and read the sensor data on the white and black background. Then, based on the data, we write the necessary code for the servo motor to move.

Components

1X PicoBricks
1X Servo Motor
3X Easy Connection Cables
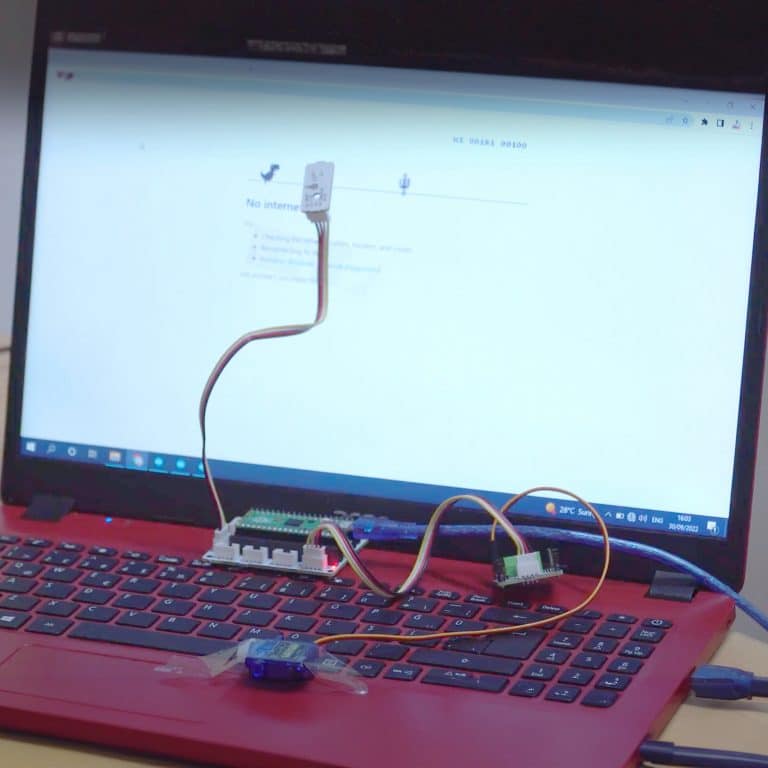
Wiring Diagram

Note: PicoBricks motor control module is used to control both DC and SERVO motors. The selection is done with a 3-pin jumper block. The end pins of the jumper block are marked with DC MOTOR and SERVO. Place the jumper to match the type of motor you are using in your project – SERVO in our case.

You can code and run Picobricks modules without wiring. If you are going to use the modules by separating them from the board, you should make the module connections with grove cables.

MicroBlocks Codes of the PicoBricks

You can access the Microblocks codes of the project by dragging the image to the Microblocks Run tab or click the button.

Microblocks Run Tab

MicroPython Codes of the PicoBricks

from machine import Pin, ADC, PWM#to access the hardware on the pico
from utime import sleep #time library

ldr=ADC(27) #initialize digital pin 27 for LDR
servo=PWM(Pin(21)) #initialize digital PWM pin 27 for Servo Motor
servo.freq(50)

while True:
    sleep(0.01)
    #When LDR data higher than 40000
    if ldr.read_u16()>4000:
        servo.duty_u16(2000)# sets position to 180 degrees
        sleep(0.1)#delay
        servo.duty_u16(1350) # sets position to 0 degrees
        sleep(0.5)#delay

Arduino C Codes of the PicoBricks


#include <Servo.h>
Servo myservo;

void setup() {
  // put your setup code here, to run once:
  myservo.attach(22);
  myservo.write(20);
  pinMode(27,INPUT);


}

void loop() {
  // put your main code here, to run repeatedly:
  int light_sensor=analogRead(27);

  if(light_sensor>100){

    int x=45;
    int y=20;
    
    myservo.write(x);
    delay(100);
    myservo.write(y);
    delay(500);
  }


}
GitHub Project Page
Prev Post
Next Post

Thanks for subscribing!

This email has been registered!

Shop the look
Choose Options

Edit Option

Have Questions?

Back In Stock Notification

Compare

Product SKURatingDescription Collection Availability Product Type Other Details
this is just a warning
Login
Shopping Cart
0 items
Same Day Shipping No Extra Costs
Easy Returns Guarantee Return with Ease
Secure Checkout Secure Payment