


#3 Autonomous Lighting Project With PicoBricks
It is called the state of being autonomous when electronic systems make a decision based on the data they collect and perform the given task automatically. The components that enable electronic systems to collect data from their environment are called sensors. Many data such as the level of light in the environment, how many degrees the air temperature is, how many lt/min water flow rate, how loud the sound is, are collected by the sensors and transmitted to PicoBricks as electrical signals, that is data. There are many sensors in Picobricks. Knowing how to get data from sensors and how to interpret and use that data will improve project ideas like reading a book improves vocabulary.
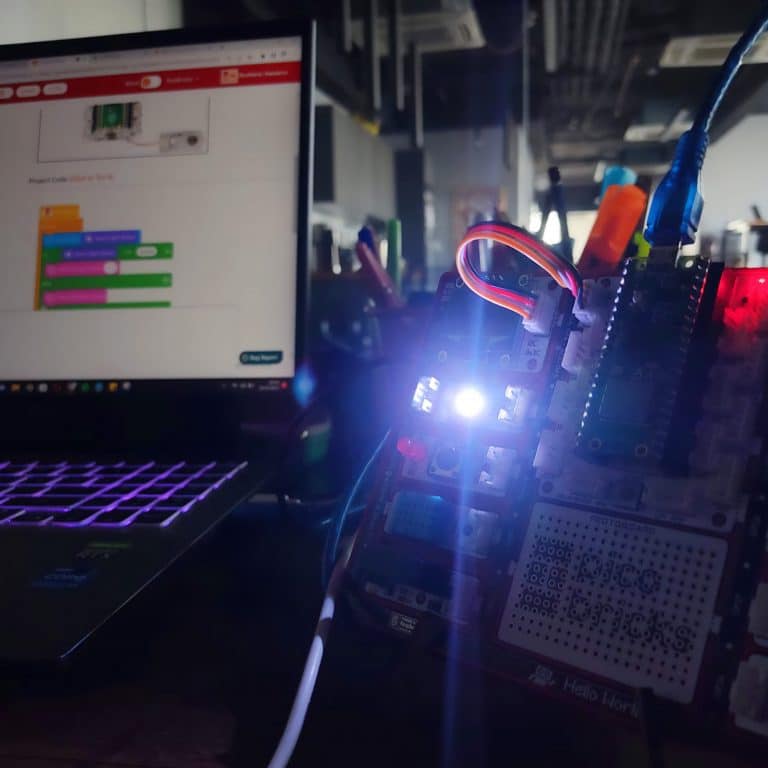
In this project, with PicoBricks, we will enable the LED to turn on when the amount of light decreases in order to understand the working systems of the systems where the lighting is turned on automatically when it gets dark.
Components
1X PicoBricks
Wiring Diagram

You can code and run Picobricks’ modules without wiring. If you are going to use the modules by separating them from the board, you should make the module connections with grove cables.
MicroBlocks Codes of the PicoBricks

import time
from machine import Pin, ADC
from picobricks import  WS2812
#define the library
ldr = ADC(Pin(27))
ws = WS2812(6, brightness=0.4)
#define the input and output pins
#define colors
RED = (255, 0, 0)
GREEN = (0, 255, 0)
BLUE = (0, 0, 255)
COLORS = (RED, GREEN, BLUE)
#RGB color Code
while True:#while loop
    print(ldr.read_u16()) #print the value of the LDR sensor to the screen.
    if(ldr.read_u16()>10000):#let's check the ldr sensor
        for color in COLORS:
            #turn on the LDR
            ws.pixels_fill(color)
            ws.pixels_show()
    else:
        ws.pixels_fill((0,0,0))  #turn off the RGB
        ws.pixels_show()
Arduino C Codes of the PicoBricks
#include <Adafruit_NeoPixel.h>
#define PIN            6
#define NUMLEDS        1
#define LIGHT_SENSOR_PIN 27

Adafruit_NeoPixel leds = Adafruit_NeoPixel(NUMLEDS, PIN, NEO_GRB + NEO_KHZ800);
//define the libraries

int delayval = 250; // delay for half a second

void setup()
{
  leds.begin();
}

void loop()
{
  int analogValue = analogRead(LIGHT_SENSOR_PIN);
  for(int i=0;i < NUMLEDS;i++)
  {
      if (analogValue > 200) {
          // pixels.Color takes RGB values, from 0,0,0 up to 255,255,255
          leds.setPixelColor(i, leds.Color(255,255,255));
          leds.show(); // This sends the updated pixel color to the hardware.
          delay(delayval);
      }
       else {
         leds.setPixelColor(i, leds.Color(0,0,0));  //white color code.
         leds.show(); // This sends the updated pixel color to the hardware.
      }
    }
    delay(10);
}
GitHub Project Page
