How to Use PicoBricks with MicroPython
What is PicoBricks?
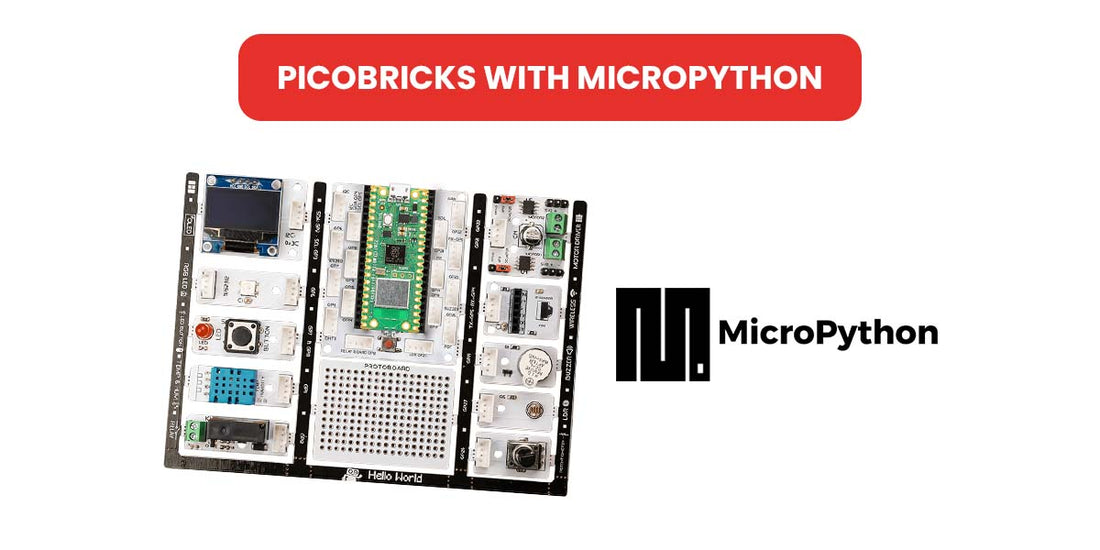
Pico Bricks is an electronic development board + software which is designed for use in maker projects. With ten detachable modules included, Pico Bricks can be used to create a wide variety of projects. It also includes a protoboard that you can use to add your own modules!
Pico Bricks is for everyone interested in electronics and coding. Beginners with no prior experience will find it easy to get started thanks to the modular hardware design, Scratch-like block coding environment, and simulator. Those with experience can dig more deeply into electronics or explore coding in Python. And even the most expert makers will appreciate how quickly they can explore ideas and create prototypes with Pico Bricks.
Unlike other boards, Pico Bricks has an incredible amount of flexibility for every level of makers! Bricks IDE has example codes for different scenarios.
Learn coding from zero to hero with MicroBlocks or the Pico Bricks’s drag-n-drop, block coding builder. MicroBlocks is the easiest coding experience ever created and widely known in the maker industry.
How to Use PicoBricks?
MicroPython Programming Language
At the heart of Picobricks is the Raspberry Pi Pico. The Thonny Raspberry Pi is a great choice for coding Pico and therefore Picobricks.
Thonny IDE Setup
1) Visit https://thonny.org/. Select the version suitable for your system and download it to your computer. Then perform the installation. You can also install the Thonny IDE, using the command “ $ pip install thonny “
Upload MicroPython Firmware to Raspberry Pi Pico
1) In order for Raspberry Pi Pico to understand the MicroPython codes we will write, we must install a special operating system for it. We call this firmware. Open the Thonny editor and click Select interpreter from the Run menu.

2) Select the Raspberry Pi Pico from the drop-down list shown in area 1. Leave the 2nd area as in the image, click on the 3rd area.

3) Connect Pico to your computer’s USB port with a cable while holding down the white bootsel button on it.

4) After the Install button is activated, you can release the button. Press the Install button and wait for the firmware to load.

5) After the installation is complete, click the Close button to complete the installation.
Installing and Running Code on Raspberry Pi Pico
1) If you have successfully completed the initial setup, you can plug Pico’s cable directly into the computer’s USB port. You don’t need to hold down the Bootsel button. Select the Select interpreter option from the Run menu in Thonny. Make sure Raspberry Pi Pico is selected in section 1. Click the OK button to close the window.

2) Activate the Files option from the View menu. A long file explorer tab will be placed on the left side of the screen. If you see Raspberry Pi Pico in section 1, it means that it is connected to Thonny Pico without any problems, you are ready to write, save and run your code. The part number 2 behind the menu is the file explorer area that shows the working directory on your computer.

3) The “hello world” application of the software world is the “blink” application to physical programming. Write down the code shown in field 1. Click the save button in area 2. Thonny will ask you in the window in area 3 whether you want to save your code in the working directory on your computer or in Pico’s onboard memory. If you choose your computer, the resulting file will appear in field 4, and if you choose Pico, the resulting file will appear in field 5.

from machine import pin
import time
led =Pin(25, Pin.OUT)whiletrue:
    led.toggle()
    time.sleep(1)
4) Select Raspberry Pi Pico from the Save in window, type “blink.py” in the File Name field and click the OK button.

5) After seeing the “blink.py” file in Pico’s file explorer, click the F5 key on the keyboard or the green Run button on the toolbar, and the code file will be run by Pico. If you see the internal LED on the Pico blinking at 1 second intervals, you have successfully written and run your first code. Congratulations
An important note: If you want the code you have written to run as soon as Pico is opened without giving a run command, you should save your code in Pico’s main directory with the name “main.py”.


