Table of Contents
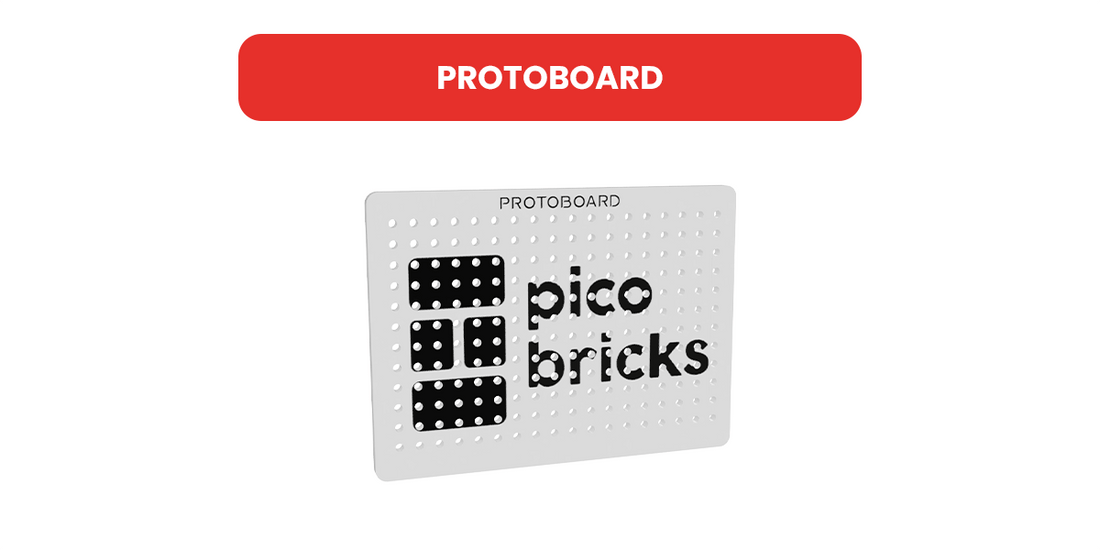
In the realm of electronics, a protoboard emerges as a fundamental component for anyone venturing into the world of circuit design and creation. Here's a quick glimpse into what makes protoboards an essential tool for both hobbyists and professionals.
-
Introduction to Protoboards: Protoboards, also known as prototype boards, are instrumental in the electronics world. They are the go-to solution for creating permanent electronic circuits, a step beyond the temporary designs often executed on breadboards.
-
The Permanent Nature: The primary appeal of a protoboard lies in its capacity for permanence. Unlike their breadboard counterparts, which are perfect for temporary and trial setups, protoboards are all about creating lasting circuits. By soldering components directly onto the board, you ensure a stable and enduring connection, ideal for finalized projects.
-
Design and Usability: At first glance, a protoboard presents a grid of holes, ready to welcome various electronic components. This grid is not just a design element; it's a carefully thought-out layout that allows for organized and efficient circuit building. Whether you're assembling a simple LED setup or a complex microcontroller-based project, the protoboard's layout offers the flexibility and order needed.
-
Versatility in Projects: The beauty of protoboards is their versatility. They're not limited to simple beginner projects; rather, they can be the foundation for intricate, sophisticated electronic designs. This makes them a favored choice among seasoned electronics enthusiasts and professionals alike.
-
Ideal for the Experienced: It's worth noting that protoboards are particularly suited for those with some experience in electronics. Soldering requires a steady hand and a bit of know-how, making protoboards a step up from the more beginner-friendly breadboards.
-
Compatibility with Advanced Systems: For users of systems like PicoBricks, protoboards offer a fantastic platform for building more advanced, permanent projects. They provide robust connections essential for complex designs, ensuring that your project is not just a fleeting experiment but a lasting creation.
Breadboard vs Protoboard
Breadboards, with their non-permanent, solder-free design, are perfect for beginners and temporary projects, offering flexibility and cost-effectiveness. Protoboards, in contrast, are ideal for more advanced, permanent installations, providing a sturdy and compact solution for complex circuits.
-
Flexibility:
Breadboards are ideal for temporary and experimental projects due to their reusable nature. You can easily insert and remove components without soldering. Protoboards, on the other hand, are suited for permanent circuits as they require soldering, offering a more stable and durable connection.
-
Complexity:
For beginners or those new to PicoBricks, breadboards are more user-friendly due to their no-soldering approach. Protoboards are better for more complex and finalized projects, where a permanent circuit is necessary.
-
Size and Portability:
Breadboards come in various sizes, which is beneficial for projects of different scales. Protoboards are more compact and robust, making them suitable for portable or space-constrained projects.
-
Cost:
Breadboards are generally more cost-effective for prototyping, while protoboards might incur additional costs due to soldering equipment and materials.
How to Use and Solder Protoboard? Step by Step Tutorial
Materials Needed
- Protoboard: The base for your circuit.
- Soldering Iron: Tool for melting solder.
- Solder: Material to create electrical connections.
- Wire Cutters: For cutting wires and leads.
- Electronic Components: Such as resistors, capacitors etc.
- Wire Stripper: To remove insulation from wires.

Step 1: Planning Your Circuit
- Importance of a Circuit Diagram: A clear diagram ensures you know where each component goes and how they connect. It's your roadmap.
- Layout Planning Tips: Plan the layout to minimize wire crossings, ensuring components fit comfortably. Group similar components and consider signal flow.
Step 2: Arranging Components on the Protoboard
- Placing Components: Follow your diagram closely. Start with the components that have fixed positions, like ICs or connectors.
- Spacing and Alignment: Leave enough space between components to avoid short circuits. Ensure proper orientation, especially for polarized components.
Step 3: Cutting and Stripping Wires
- Cutting Wires: Measure and cut wires to the needed length. Avoid excess length to prevent a messy board.
- Stripping Wires: Strip just enough insulation (around 1/4 inch) for soldering, avoiding bare wire exposure which can cause shorts.
Step 4: Soldering Components
- Soldering Technique: Heat the joint, not the solder, then apply solder to the joint. It should flow smoothly.
- Safety Precautions: Work in a well-ventilated area. Use safety goggles and avoid touching the soldering iron tip.
Step 5: Testing the Circuit
- Testing Procedure: Power off before testing. Use a multimeter to check for continuity, shorts, and correct voltages.
- Using a Multimeter: Check for continuity first, then power on and measure voltages across key points.
Troubleshooting Common Issues
- Cold Solder Joints: Reheat and reapply solder for a shiny, smooth joint.
- Short Circuits: Check spacing and remove any excess solder bridges.
- Non-Functional Components: Replace components that don't work or show signs of damage.
Advanced Tips
- Using Jumper Wires: For complex circuits, use jumper wires to make connections over long distances.
- Adding Layers: If your project is dense, consider using double-sided protoboards for additional space.
- Integrating Microcontrollers: For advanced projects, integrate microcontrollers by carefully planning their placement and connections.
In conclusion, your choice between a breadboard and a protoboard depends on the nature of your project, your experience level, and the specific requirements of your PicoBricks setup. Both have their unique advantages that cater to different stages of electronics and robotics exploration.
FAQ
Are Protoboard and Breadboad the same?
No, protoboards and breadboards are not the same. A breadboard is used for creating temporary circuits without soldering, allowing easy adjustments and experimentation. In contrast, a protoboard (or prototype board) is used for creating permanent circuits where components are soldered onto the board, making it ideal for finalized projects. While breadboards are great for beginners and temporary setups, protoboards are better suited for more durable and long-term electronic designs.
Can you cut protoboards?
Yes, protoboards can be cut to fit specific size requirements. However, it's important to use the right tools, like a fine-tooth saw or a PCB cutter, and to cut carefully to avoid damaging the board's structure or the circuit paths. Always ensure safety by wearing protective gear and working in a well-ventilated area.
Why use a protoboard instead of a breadboard?
Protoboards are chosen over breadboards primarily for permanence and stability in electronic circuits. While breadboards are excellent for temporary setups and prototyping without soldering, protoboards allow for soldering components, creating durable and reliable connections suitable for long-term or final projects. This makes protoboards ideal for more complex or permanent electronic applications where the stability of the circuit is crucial.
If you want to experience the protoboard on PicoBricks, you can click here!


