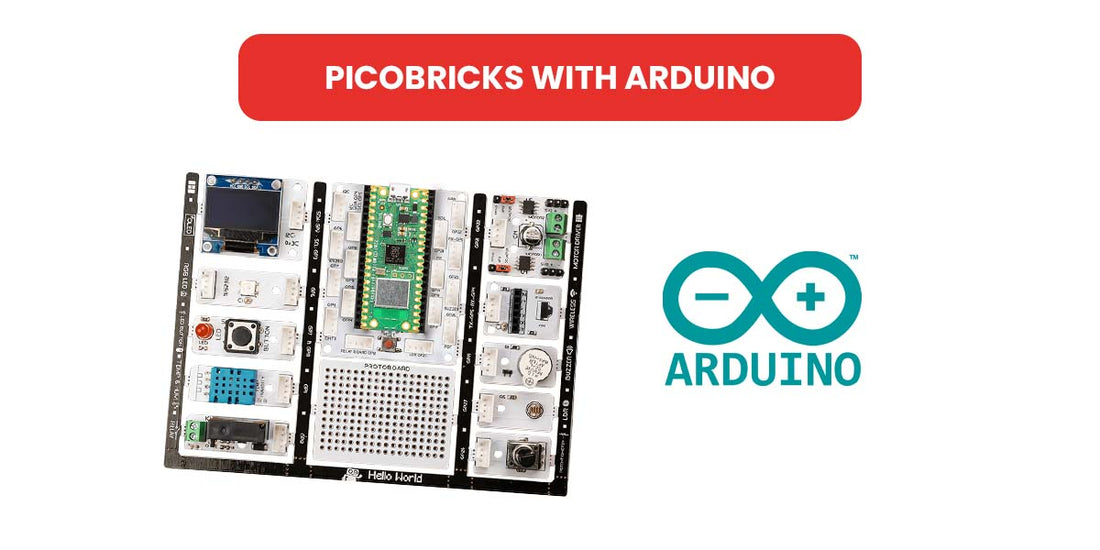
Getting started with PicoBricks
What is PicoBricks?
Pico Bricks is an electronic development board + software which is designed for use in maker projects. With ten detachable modules included, Pico Bricks can be used to create a wide variety of projects. It also includes a protoboard that you can use to add your own modules!
Pico Bricks is for everyone interested in electronics and coding. Beginners with no prior experience will find it easy to get started thanks to the modular hardware design, Scratch-like block coding environment, and simulator. Those with experience can dig more deeply into electronics or explore coding in Python. And even the most expert makers will appreciate how quickly they can explore ideas and create prototypes with Pico Bricks.
Unlike other boards, Pico Bricks has an incredible amount of flexibility for every level of makers! Bricks IDE has example codes for different scenarios.
Learn coding from zero to hero with MicroBlocks or the Pico Bricks’s drag-n-drop, block coding builder. MicroBlocks is the easiest coding experience ever created and widely known in the maker industry.
How to Use PicoBricks?
Arduino Programming Language
Picobricks offers us the opportunity to code with Arduino C. Getting started coding the Raspberry Pi Pico at the heart of Picobricks with the widely used Arduino IDE is pretty easy.
Arduino IDE Setup
1) Download the Arduino IDE 1.8.x setup file from https://www.arduino.cc/en/software to your computer and install it.
2) First you need to add Raspberry Pi Pico to Arduino IDE. Start the Arduino IDE. Then go to Tools>Board>Boards Manager.
3) Write “Raspberry Pi Pico” in field 1. After waiting for a while, click on the Arduino Mbed OS RP2040 Boards option and click the install button in field 2.
During all these installations, you must accept the approvals it will ask you for. When the installation is complete and click the close button, you will have added Pico to the Arduino IDE.
Writing and Running Code with Arduino IDE
1) When you want to code Pico with Arduino IDE, you just have to connect it to your computer by holding the BOOTSEL button for the first time.
2) In this way, Pico will be connected in bootloader mode and recognized by your computer as external memory. After seeing Pico as the computer’s flash memory, activate your card by going to Tools>Board>Arduino Mbed OS RP2040 boards> Raspberry Pi Pico.
3) Write the code in the field number 1 below and follow the File>Save path and save it anywhere on your computer with the name “Blink“.
4) After the saving process, we must click the “Upload” button in the 1st field to compile the code and save it in Pico. When we see Done uploading at the bottom, our code will run in.
void setup() {
// put your setup code here, to run once:
pinMode(7, OUTPUT); // initialize digital pin 7 as an output
}
void loop() {
// put your main code here, to run repeatedly:
digitalWrite(7, HIGH); //turn the LED on by making the voltage HIGH
delay(500); //wait for a half second
digitalWrite(7, LOW); //turn the LED on by making the voltage LOW
delay(500); //wait for a half second
}
Pico and the built-in LED will blink at 1-second intervals.
Important Note: While coding Picobricks with Arduino IDE, connect it to your computer by pressing the BOOTSEL button at the first pass from Micropython or Microblocks firmware. You do not need to press BOOTSEL for subsequent code uploads. Enjoyable projects 🙂