


#9 Alarm Clock Project With PicoBricks
Global warming is affecting the climate of our world worse every day. Countries take many precautions and sign agreements to reduce the effects of global warming. The use of renewable energy sources and the efficient use of energy is an issue that needs attention everywhere, from factories to our rooms. Many reasons such as keeping road and park lighting on in cities due to human error, and the use of high energy consuming lighting tools reduce energy efficiency. Many electronic and digital systems are developed and programmed by engineers to measure the light, temperature and humidity values of the environment and ensure that they are used only when needed and in the right amounts.
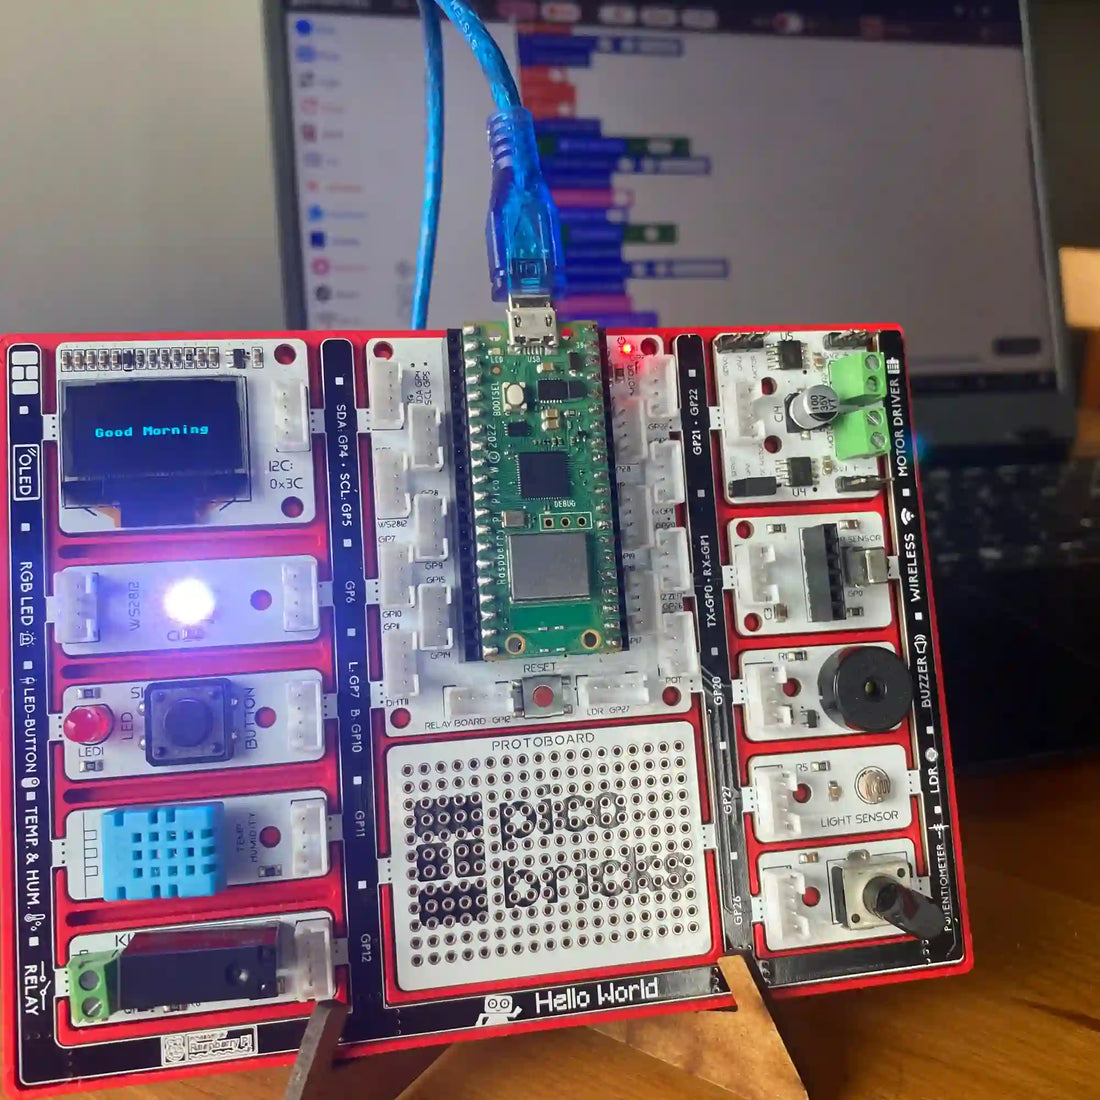
In this project, we will create a timer alarm that adjusts for daylight using the light sensor in Picobricks.
Wiring Diagram

MicroBlocks Codes of the PicoBricks

You can access the Microblocks codes of the project by dragging the image to the Microblocks Run tab or click the button.
MicroPython Codes of the PicoBricks
from machine import Pin, I2C, ADC, PWM#to access the hardware on the pico
from picobricks import SSD1306_I2C#OLED Screen Library
import utime
from picobricks import WS2812#ws8212 library
#OLED Screen Settings
WIDTH = 128
HEIGHT = 64
sda=machine.Pin(4)
scl=machine.Pin(5)
#initialize digital pin 4 and 5 as an OUTPUT for OLED Communication
i2c=machine.I2C(0,sda=sda, scl=scl, freq=1000000)
neo = WS2812(pin_num=6, num_leds=1, brightness=0.3)#initialize digital pin 6 as an OUTPUT for NeoPixel
oled = SSD1306_I2C(WIDTH, HEIGHT, i2c)
ldr = ADC(Pin(27))#initialize digital pin 6 as an OUTPUT for NeoPixel
button = Pin(10,Pin.IN,Pin.PULL_DOWN)#initialize digital pin 10 as an INPUT for button
buzzer = PWM(Pin(20, Pin.OUT))#initialize digital pin 20 as an OUTPUT for buzzer
buzzer.freq(1000)
BLACK = (0, 0, 0)
WHITE = (255, 255, 255)
#RGB black and white color code
oled.fill(0)
oled.show()
neo.pixels_fill(BLACK)
neo.pixels_show()
if ldr.read_u16()<4000:
wakeup = True
else:
wakeup = False
while True:
while wakeup==False:
oled.fill(0)
oled.show()
oled.text("Good night",25,32)
oled.show()
#Show on OLED and print "Good night"
utime.sleep(1)
if ldr.read_u16()<4000:
while button.value()==0:
oled.fill(0)
oled.show()
oled.text("Good morning",15,32)
oled.show()
#Print the minutes, seconds, milliseconds and "Goog morning" values to the X and Y coordinates determined on the OLED screen.
neo.pixels_fill(WHITE)
neo.pixels_show()
buzzer.duty_u16(6000)
utime.sleep(1)
#wait for one second
buzzer.duty_u16(0)
utime.sleep(0.5)
#wait for half second
wakeup=True
neo.pixels_fill(BLACK)
neo.pixels_show()
oled.fill(0)
oled.show()
oled.text("Have a nice day!",0,32)
#Print the minutes, seconds, milliseconds and "Have a nice day!" values to the X and Y coordinates determined on the OLED screen.
oled.show()
if ldr.read_u16()>40000:
wakeup= False
utime.sleep(1)
#wait for one second
Arduino C Codes of the PicoBricks
#include <Adafruit_NeoPixel.h>
#ifdef __AVR__
#include <avr/power.h>
#endif
#define PIN        6

#define NUMPIXELS 1
Adafruit_NeoPixel pixels(NUMPIXELS, PIN, NEO_GRB + NEO_KHZ800);
#include <Wire.h>
#include "ACROBOTIC_SSD1306.h"
int button;
void setup() {
  // put your setup code here, to run once:
   Wire.begin();
  oled.init();
  oled.clearDisplay();

#if defined(__AVR_ATtiny85__) && (F_CPU == 16000000)
  clock_prescale_set(clock_div_1);
#endif
  pinMode(10,INPUT);
  pinMode(27,INPUT);
  pinMode(20,OUTPUT);

  pixels.begin();
  pixels.setPixelColor(0, pixels.Color(0, 0, 0));
  pixels.show();

}

void loop() {
  // put your main code here, to run repeatedly:
  oled.setTextXY(4,3);
    oled.putString("Good night");

    if (analogRead(27)<200){

      while(!(button == 1)){

        button=digitalRead(10);

        oled.setTextXY(4,2);
        oled.putString("Good morning");
        pixels.setPixelColor(0, pixels.Color(255, 255, 255));
        pixels.show();
        tone(20,494);
      }
        oled.clearDisplay();
        oled.setTextXY(4,1);
        oled.putString("Have a nice day");
        noTone(20);
        pixels.setPixelColor(0, pixels.Color(0, 0, 0));
        pixels.show();
        delay(10000);
    }


}